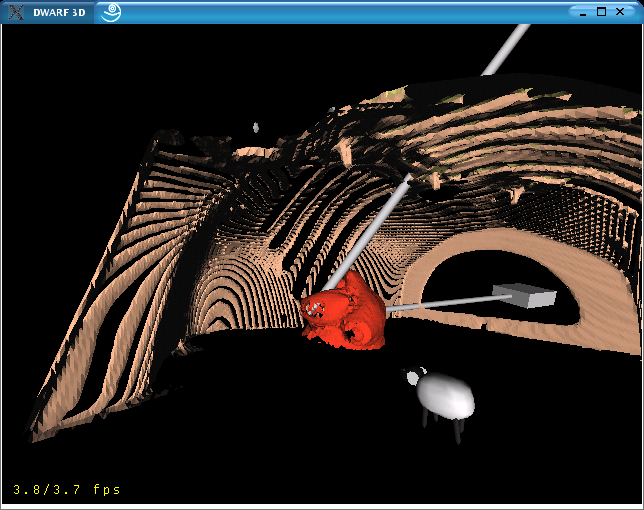
How to set up the heARt demo in our Lab
If you want to try out the Heart demo, you need:
- a thorax model in inventor format
- for video-see-through you also need the real thorax for this model
- two tracked robot arms
- a tracked camera
- a magic wand to callibrate the whole stuff
- a few Sheep to have fun with.
Setup Order
- checkout the DWARF module from the CVS
- use ../configure with the --enable-heart attribute or copy the XML-service descriptions for ServiceARTTracker, ServiceObjectCalibration and ServiceViewer in the source tree manually
- build and compile - resolve all problems
- copy the thorax model, planned arms model and roboter arm model in the dwarfinstall/share/ folder from /shared/dwarf/modeldata/heart/
- there exists a complete setup like this on the local
heart account on atbruegge10.
The password is known by few :-)
Startup Order
- ServiceManager:
- run-servicemgr on atbruegge10
- Tracking:
- start the Heart Module of dtrack on atbruegge35
- there are two different setups, one for 3 cameras (in the lab) and for the two-camera mobile demo.
- ServiceARTTracker on atbruegge10
- ServiceObjectCalibration on atbruegge10
- Viewer:
- optional, if you want to have see-through video: ServiceVideoGraber?
- run ServiceViewer with
Viewer -Dmodel../share/Phantom.iv= (if Video Grabber add -Dvideobackground=yes in front of -Dmodel)
- there exists a script called
HeartView.sh for the non-overlay and
- another script called
OverlayView.sh for the see-through.
- Connecting the Robot Arms:
- run
ApplicationHeart.py from the /cvs/dwarf/applications/heart directory.
- Calibrating the Thorax:
- perform spatial calibration to display the model of the thorax at the right place
- this does not work at the moment.
- you need to "callibrate" by adjusting the real thorax

- the rest is not needed anymore:
- java -jar DISTARB.jar
- set the Type of DISTARB to StringData, Name can be randomly
- java -jar UIC.jar HeartNet - this will start the HeartNet Petrinet module
- enter EventName = init in DISTARB // connects the pose data of spatial registration with the model
- enter either EventName = arms or EventName = planning into DISTRAB // loads the coreponding models
More
For more information we refer to Joerg's
Diplomarbeit. There is a more detailed setup description in Appendix C.


